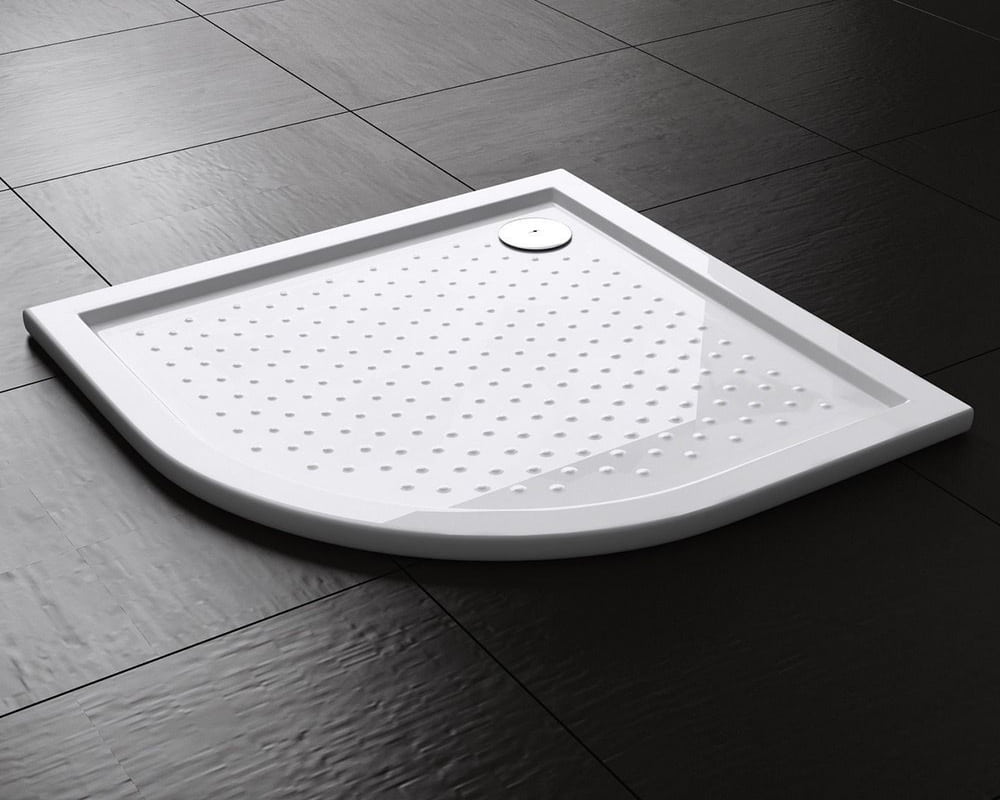
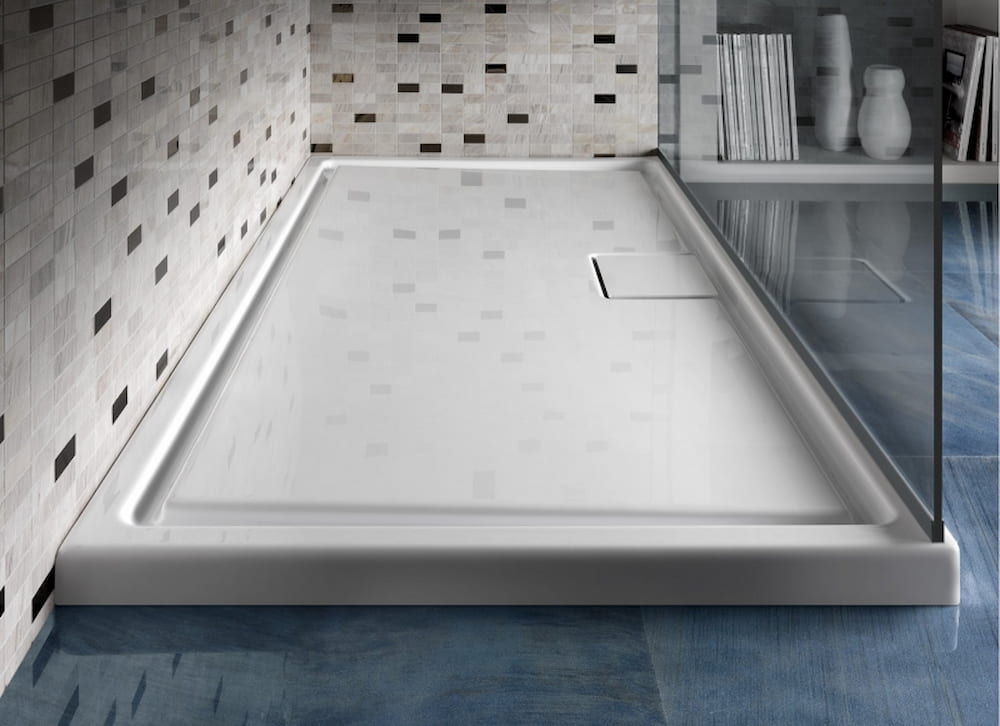
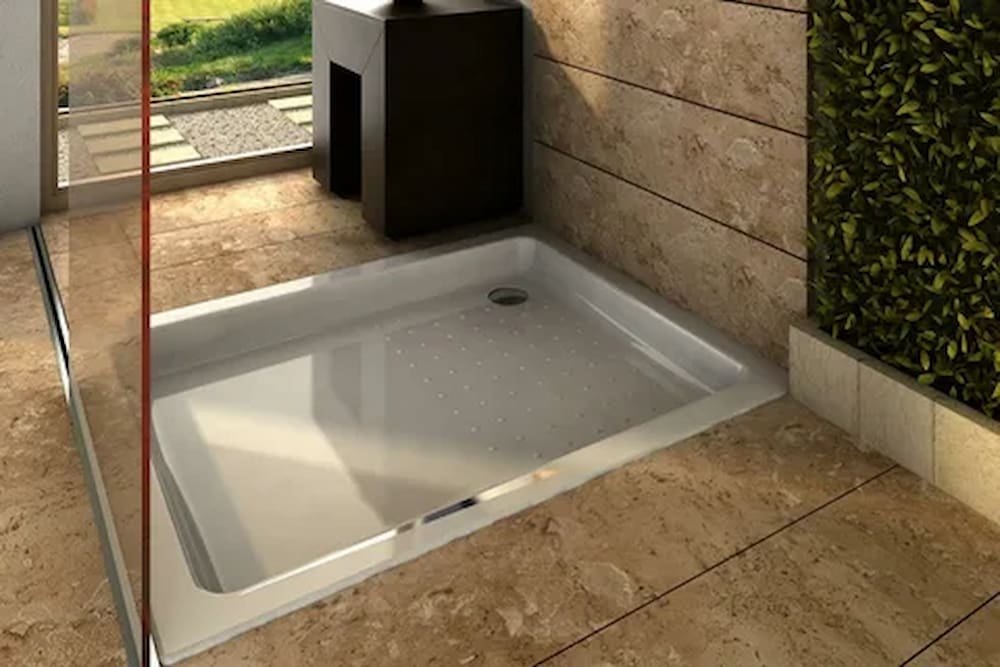
There are different types of shower trays made of different materials such as acrylic, stainless steel, plastic, etc. Most of these shower trays also come with a repair kit. Repairing the shower tray is one of the most common questions:
Is it possible to repair the shower tray? Is it better to simply replace it when it’s damaged?
It is possible that over time, the fixtures in your bathroom will start to show signs of wear and tear and eventually need to be replaced. But how are you supposed to know which parts of the bathroom can be repaired and which parts need to be replaced if you don’t have any prior experience working on the bathroom?
If you’ve ever wondered if you can repair plastic shower tray cracks, you’ve come to the right place.
It is possible to repair the cracks that appeared in the shower tray made of plastic.
Repair kits made of acrylic can be used to repair a damaged plastic shower tray, but most experts recommend replacing the tray rather than repairing it due to the constant pressure it is subjected to, which It can lead to leakage and additional damage. .
As a matter of fact, plastic trays cannot be repaired under any circumstances. A kit for a fiberglass tray can be included. But, the finished product almost certainly won’t last and almost certainly won’t look good.
If you know exactly what you want, our company has a selection of shower trays to suit all types of shower enclosures and budgets.
When it’s time to buy a new shower tray, or if you just want more information, consult this buyer’s guide.
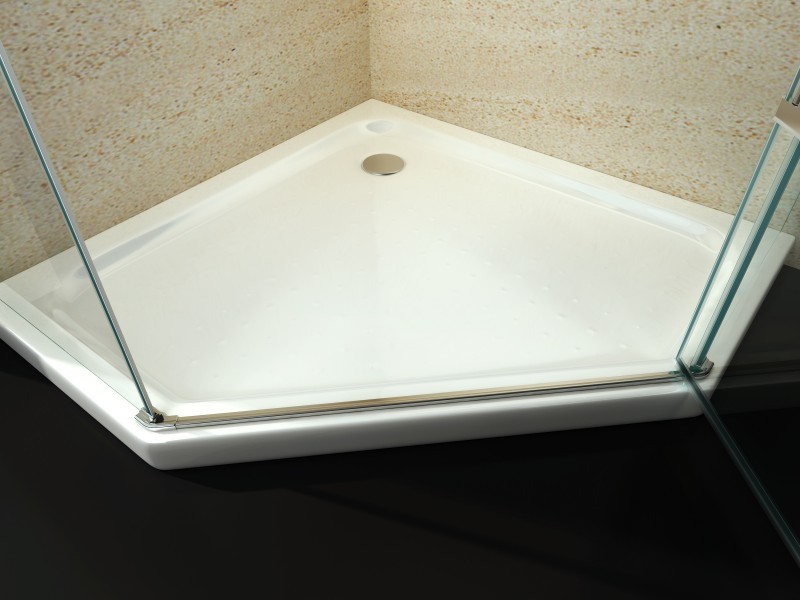
shower tray repair kit
As a result of heavy or sharp objects falling into your shower tray over time, you may notice small chips in it after a while.
In this particular situation, we recommend using a repair kit. This set comes with gloves, gel coat, accelerator, stirring equipment (including stick and pipette) and accelerator.
Clean and degrease the surface of the plastic shower tray to get rid of any existing dust. Acetone is a good option to use.
In the mixing bowl, put as much gel coat as you want (10/20/30 ml) and then follow up by adding the appropriate amount of catalyst drops.
Stirring the mixture with a stick should be done until it is completely uniform.
Make sure you use the least combination that still achieves the desired result. A sponge is the tool of choice when applying the final coat of paint to a textured surface such as stone. When the defect is along or in a corner, use masking tape to hold the compound in place until it can be repaired.
After the problem is finished, the mixture should be thrown away.
Once the repair is complete for 24 hours, the repaired area can be cleaned with acetone-soaked paper.
After using the repair kit, you should wait 48-72 hours before the shot to check if it is working properly.
acrylic shower tray repair kit
The repair and installation of the shower tray, which can be made of various materials such as acrylic, plastic, porcelain ceramic and other types of high-quality materials, requires the use of a repair kit that cannot be separated from the process.
With the help of this part, you can raise your acrylic shower tray by 70 mm and provide the possibility of entering the shower through the stairs. By using this gadget, you may make a really spacious shower for yourself. Riser kit fits rectangular trays 760mm to 900mm wide (A).
The side panels are removable so that a range of different sized trays may be accommodated and the sturdy legs ensure that the tray will not fall off the floor. Since it is made of white ABS, the plastic riser kit has a long life.
The Riser Kit allows for quick and easy installation of shower trays on concrete or uneven floors. Since its legs are movable, the shower tray can be installed on floors with different levels while maintaining its level position.
The tray lifts up to facilitate solid floor waste disposal, both during and after installation. Once attached, the legs are hidden thanks to the base attached to the base of the shower tray. This creates a look that is consistent across the page.
shower tray kit
A repair kit specifically designed for the subject is recommended.
The type of repair that needs to be done on the shower tray will determine the type of repair kit that one should purchase.
When making extensive repairs, such as replacing a missing part, you should have a kit on hand that contains adhesives and colored patches.
To repair lighter scratches, colored chemicals can be used and rubbed.
The type of repair that needs to be done determines the type of repair kit that needs to be purchased.
There is a wide range of repair kits on the market, and some of these kits are designed to fix specific types of damage such as cracks, burns, paint loss, scratches and scuffs.
Repair kits at the highest level are unmatched by anything else. In addition to simplifying the application process, they are also useful in repairing tears and holes in the shower tray.
These repair kits have extremely reasonable prices and make repairs possible quickly and without any complications.
Its most popular use
removing stains and repairing cracks.
The adhesion provided by the adhesive is capable of lasting a considerable amount of time.
In the context of this discussion, the term adhesive refers to pre-used adhesives.
You don’t need any glue or other adhesives to do the job.
plastic shower tray repair kit
The riser repair kit made of plastic not only comes with the panel and legs, but also has a panel that can be adjusted to raise or lower the level of the shower tray.
This is the best choice if you want easy access to the waste, especially if you are placing the shower on a concrete floor, which prevents the hatch from cutting into the floor.
Because of this, the height of your shower tray increases and you have to take a few extra steps to get inside.
Extra space for trash cans is not only very useful, but also helps to reduce the amount of work required and maintain order.
What exactly does the phrase “Riser Kit for a Shower Tray” mean?
We explained how the kit riser that comes with the shower tray makes it easy to access the waste. Since there is no need to cut any holes in the floor during the installation process, it is suitable for use in a wide variety of homes and floor surfaces.
Plastic shower tray repair kit
The only noticeable difference between it and a regular shower floor is that it is upgraded to a higher level than the latter.
These kits come with trays of various depths, allowing you to choose the one that best meets your needs.
Besides, they shouldn’t be too hard to find.
There is a wide variety of designs and materials available for shower trays.
How to install a shower tray is significantly influenced by the type of ceramic shower tray being installed.
In this article, we focus on the adjustable type. Due to the fact that these are very simple to set up, they are widely used in residential places.
shower tray and riser kit
How to install a shower tray repair riser kit?
Spread the silicone wherever you want to install your new shower tray. After marking the shower tray with a pencil and marker, use a level to make sure the floor is level. Check to make sure there are no alignment or alignment problems.
Change the height of the movable legs of your shower tray to suit your needs.
Make sure the shower tray waste is secured to the shower tray and can be securely attached to the bath water waste under the shower tray.
It may be necessary to raise the height of the leg to quickly connect the sewer pipe.
Check the alignment and height of the shower tray using the available side panels. You may need to cut the side panels to make sure the tray fits perfectly.
Always follow the manufacturer’s instructions to ensure the product fits properly.
Make sure the legs and seals are properly closed and the shower tray is exactly level with the bathroom floor using a level. The tray must be effectively drained of water in order to function.
Attach your water waste to the waste hole at the bottom of your shower tray. Pouring water through the waste trap in the shower tray will reveal any leaks.
Once everything is attached and the side panels are in place, you can caulk the borders of the shower tray starting at the bathroom walls.
You must leave a gap of 3 mm between the shower tray and the tile or wall panel you have chosen. Apply the second seal and fill the gap with sealant after 24 hours.
And finally, fasten the side panels. The side panels can be secured using the shower tray movable legs
Clips provided
easy plumb shower tray
Fitting the waste pipe into your shower tray is easy thanks to our shower tray lift panel kits. Because they lift your shower tray off the floor and make it easier to install the waste, they’re a great addition to homes with solid floors that can’t be removed.
A long panel that wraps around the tray creates a beautiful finish and hides the tray’s solid base assembly. This panel also hides the tray legs, which should be hidden by the panel.
Stands, when used in conjunction with circular base plates, can be adjusted to provide the user with a satisfactory level of support.
Our company was established several years ago to meet the ever-increasing demand for products in the sanitary ware category.
As a result of favorable market conditions, expansion and capacity increase projects were carried out consecutively and in several phases.
As a result of producing thousands of tons of final goods, this unit is currently considered as one of the most successful producers and exporters of this type of products in foreign markets.
Because we can use a highly skilled workforce and extensive technical knowledge, and because we can use the insights and experiences we have gained as a result of our effective presence in the domestic and international markets, our company has developed has prioritized Product quality as well as quantitative expansion of production is in its plans for the future.
Our products have been able to penetrate new markets as a result of improvements in quality, product range (there are over a hundred distinct product types) and design innovation.