Having access to a trained professional who is always on standby is a great convenience if you need to repair or replace something at home.
Your bathroom fixtures, such as shower trays, will eventually show their age and may require repairs in the future due to chipped enamel.
But if you have no experience, how are you going to know which parts of the bathroom can be repaired and which need to be replaced?
No matter how damaged your shower tray is – whether it’s cracked, scratched or chipped – our refinishing team will restore it to the luster it had when it was first installed.
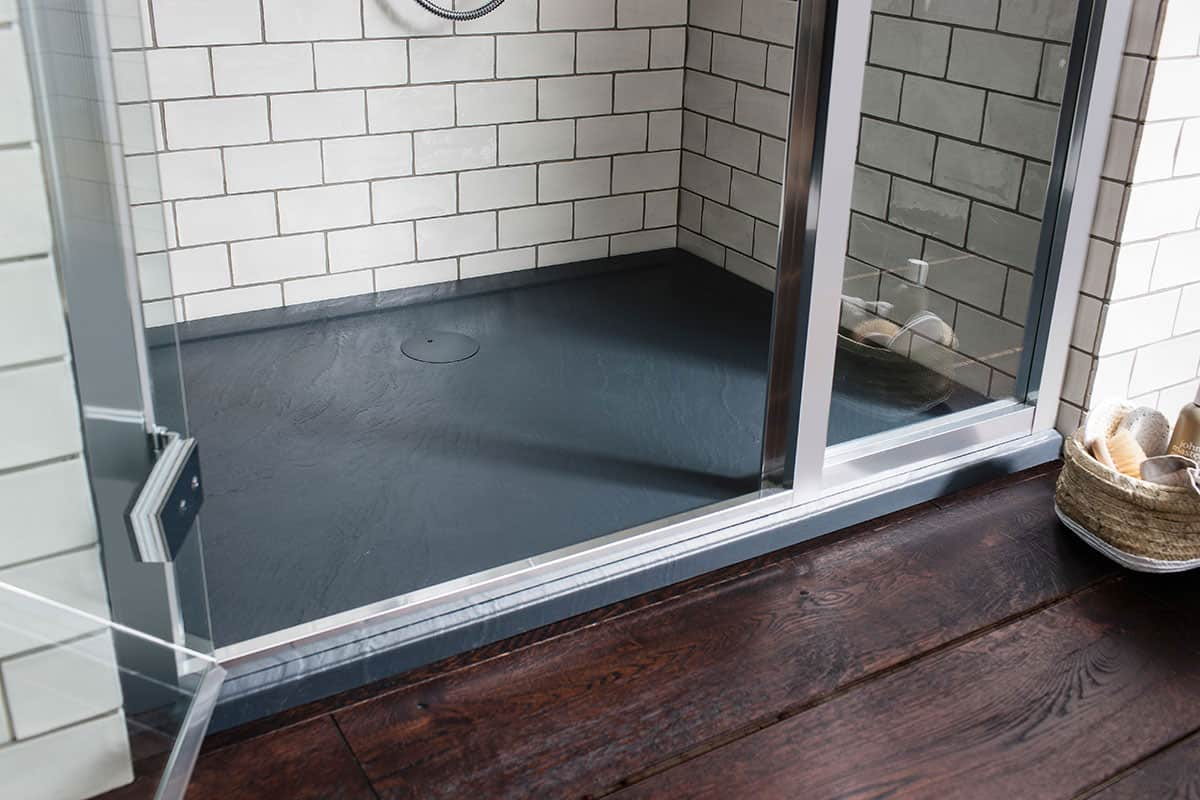
The damaged part of the shower tray is inspected, repaired and then painted to match the healthy parts of the tray so that there is no discernible difference between the two.
It is possible to reinforce damaged trays with additional reinforcements to prevent further damage.
The anti-slip coating can be repaired or replaced as needed, adding an extra layer of protection to the area where it is applied.
Message us with any questions you have about your shower tray and we’ll do our best to help you with “how to’s” and “cheap repair kits”.
If desired, we will provide you with an estimate to restore the shower tray to the condition it was in when it was first installed.
Shower Tray Enamel Repair
Shower trays are used often, so it’s no surprise that they occasionally get damaged and need repair.
Even if your shower tray is very expensive and of the best quality, if it is dropped or touched, the enamel will crack.
A cracked shower tray is not uncommon, but it can still be repaired.
If water seeps through defects in the shower tray, mold, moisture, and other problems can develop.
If it’s made of acrylic or resin, you’ll need to get the proper repair kit for your shower.
You should check it carefully to make sure the crack is exactly where you want it to be and that there are no more cracks.
You need to be aware of each crack and its total extent because there is a risk that an overlooked crack in your shower tray will cause other cracks.
Repairing the enamel of the shower tray
Clean the tray: Your shower tray needs to be completely clean before the epoxy repair and patch that covers the crack can be applied.
Before starting the procedure, wash it carefully and let it dry completely.
Shower tray cracks can be repaired in one of two ways: with filler or with fiberglass glue.
Sanding the area around the crack gives it a smooth surface that makes it easier for epoxy or resin to adhere.
If you get a mixture of two fillers that need to be mixed in another container, use a disposable container for this step. Simply apply it vigorously and let it air dry.
It is better to go in the evening and come back the next day to be safe.
Follow these easy instructions to repair a broken shower tray.
However, if cracks appear regularly or you find more than one, it can be assumed that your tray was chosen incorrectly, in which case you should contact a specialist.

Fortunately, repairing a cracked or damaged shower tray is a simple project that the vast majority of homeowners can do on their own to save on the cost of replacing the shower tray.
The cost of hiring an expert to solve such problems is an investment that will pay off well in the long run as it ensures that similar problems do not arise in the future.
In most cases, all that is needed to repair the damage is an epoxy kit found at any hardware store.
Shower Tray Crack Repair
Larger cracks and scratches may require patching, drywall, and possibly even specialty two-component foam.
Repairing an existing shower tray is usually significantly more cost-effective than installing a new one, and the process takes only four to six hours, including the time needed to dry the area.
The first thing to do to figure out what type of repair is needed is to check for damage. Cracking and chipping are two problems that occur in shower trays made of materials such as fiberglass, acrylic, and others, if they are used heavily over time.
Also, if something heavy falls on the surface, it can cause a large crack or a noticeable hole, especially if the shower tray is not made correctly.
Cracks and scratches on the surface of the shower tray may require nothing more than a direct filling and polishing process.
However, before painting and polishing the shower tray, you should have a professional inspect it for large cracks, diagnose the problem, and add support to the shower tray structure.

A traditional bathtub can be replaced with a shower tray that is available in different materials
So, nd is a good option.
Chances are you’re curious as to why there are so many cracks in the surface of your shower tray. However, despite the fact that the shower tray under the enclosure is often quite durable, there is still the possibility that it will be damaged.
Extensive research was done to determine the cause and manner of breaking a shower pan or a bathroom shower tray.
Flexible sealer can be used when repairing the concrete foundation.
It may need to be replaced, although this depends on the severity of the crack as well as the underlying cause.
If your shower tray is made of fiberglass or acrylic, you can repair it with epoxy or a fiberglass repair kit (ceramic or stone).
Shower Tray Crack
To properly install the shower tray, the installer must use the appropriate floor material.
If there are any cracks or air bubbles on the surface of the tray, there is a possibility of cracking.
Improper installation significantly increases the chance of ceramic and stone trays breaking.
On the other hand, ABS and plastic trays may not be able to withstand significant loads, especially if they are not properly positioned.
Cracked Shower Tray
Even though your tray is in the right place, a manufacturing error can lead to a crack.
Some parts may not be as strong as they should be due to manufacturing errors.
Always buy from trusted companies that use superior components and processes to manufacture their products. This will save you money in the long run.
Fix Crack In Shower Tray
It is common to use abrasive chemicals for routine cleaning of ceramics, stone, shower trays and resin fixtures used in the bathroom.
Using this direct route is the only effective way to have a shower tray with cracked lines as well as causing damage to your bathroom fittings.
By cleaning your trays with bleach or other micro-scrub cleaners that contain dangerous chemicals, you risk damaging the surface of your trays.
If you use these chemicals continuously, the surface may eventually become porous, making it more prone to chipping or cracking.
Instead, clean your shower base with a solution made from a little dish soap and vinegar.
Cracked shower tray
The vast majority of trays are at a very high risk of breaking on a regular basis.
On the other hand, if you try to hit the steel trays with a direct blow, there is a possibility that the material will break.
For example, if you accidentally drop a large or sharp object on your shower tray, it can cause significant cracks that are impossible to repair.
If you want to salvage a tray that’s completely gone, you’ll need to shell out a lot of cash for a metal plating job done by an experienced professional.
For this reason, it is very important that you take the necessary precautions to ensure that heavy and sharp objects are always outside of your shower enclosure.
Cracked shower tray Fixing the crack in the shower tray If you are concerned about how to fix a crack that has appeared on the surface of your shower tray, it is highly recommended that you do the following.
Clean the area – Before you start, clean the area with household cleaners and a sponge.
Use rubbing alcohol, acetone, or a similar solvent that can remove oil, soap, and glass fibers.
Practice when necessary – When the source of the problem is a lack of support, you need to raise the issue seriously. Instead of removing the shower tray and rebuilding the support system, drill six to eight small holes in the tray and add foam.
Fixing the crack in the shower tray If you are not working on the base support but are repairing the cracks in the shower tray, use a rotary tool with 80-grit sandpaper to cut an 11.2-inch diagonal line in the center of the crack.
Add two-part foam – For extra support, inject two-part foam into the holes you’ve drilled. It hardens in minutes and creates a solid foundation.
Use a Patch – If you’re using fiberglass mesh, place it over the gap or hole to measure and then cut it to fit slightly larger than the opening.
More than one layer may be needed for very deep holes.
Mix Filler – While wearing protective gloves, mix putty and resin hardener according to your repair kit’s instructions and add color if working with a non-white shower tray.
Repair a crack, scratch or hole in the shower tray – immediately spread the mixture into the crack or hole or on the mesh.
Be careful to spread it all the way so that it gets stuck in all parts and avoids overlapping. Don’t be afraid to pile the mixture on top of the hole and fill it completely.
You sand laterAllow the mixture to sit in the holes for 2-3 hours (or longer for larger and deeper holes).

