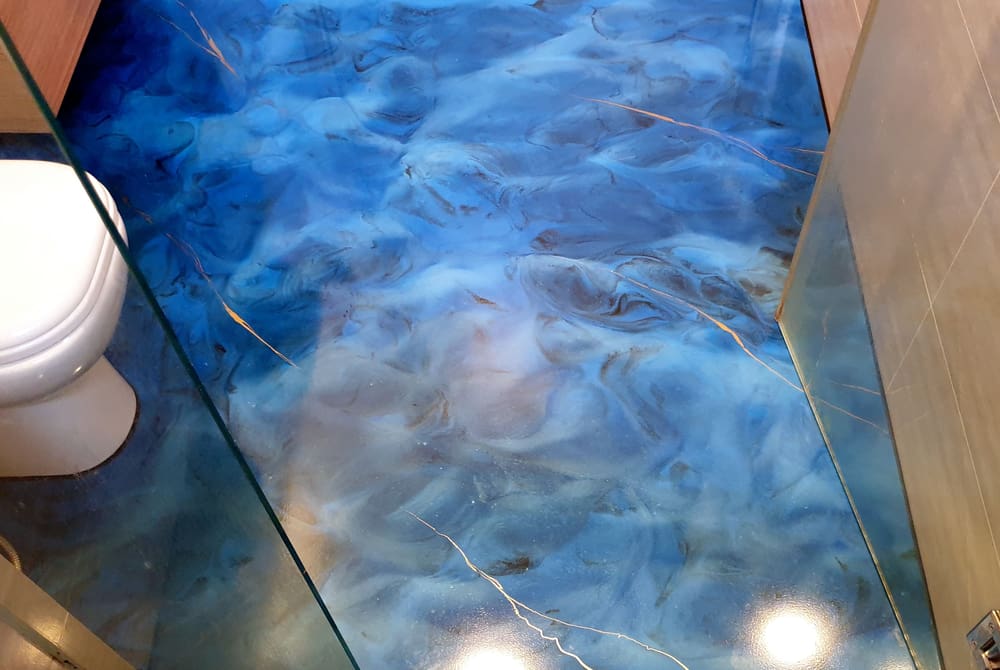
When you hear the word “epoxy,” you might imagine hardwood tables finished with a river blue stain. It can be assumed that the term “epoxy” has been used more often in recent times.
Although epoxy can be used to make unique decorations, the most common use of epoxy is to paint the surface of the shower tray.
This is one of the most common uses of epoxy.
Epoxy is a material that can be combined with resin to produce epoxy resin, and then it can be used in various applications. This type of resin takes on a much harder appearance after being combined with another material.
Epoxy, especially contemporary epoxy, has a wide range of potential applications.
It can be used as an iron glue, as an insulator for electrical appliances, as a paint for metal materials, to repair seams and breaks in all kinds of equipment, to repair leaks in ships, to make decorative decorations for the home. and finally as epoxy for insulating buildings.
All these applications are possible thanks to the versatility of these materials.
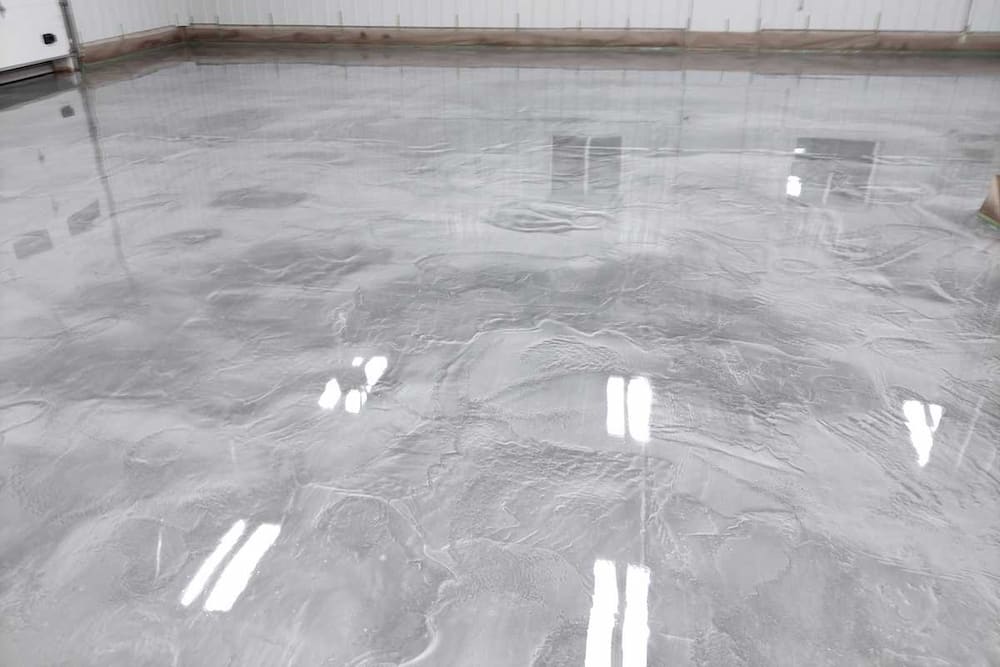
Epoxy paint, also known as floor coating, gets its name from the fact that its most common use involves covering and insulating floors.
Floor coating is another term for epoxy paint. Painting with epoxy is a completely different experience than painting with other types of paint because of the unique painting technique.
In addition to keeping the floor clean, this material is twice as durable as concrete, and the possibility of cracking or damage is very low.
shower tray paint
In most situations, the best option is to use a paint made specifically for cleaning acrylic shower trays. These products are specially made for painting shower bases.
The color is formulated to stick to the shower. These paints also come with very detailed instructions on how to apply the paint, allowing you to have a successful finish by properly adhering the paint and ensuring that it is applied correctly.
For example, most acrylic shower bases require a significant amount of sanding to create a smooth surface that allows paint to adhere.
Gelcoat for coating the shower tray
Gel coat is a different type of coating that forms a very hard and impenetrable shell when it dries.
Gelcoats cover boats and yachts, along with several types of acrylic and fiberglass shower trays. If your acrylic shower tray has gel coat, another coat of gel coat can revive the finish and make the shower tray look brand new again.
Working with Gelcoat is complicated, as the surface must be prepared and the Gelcoat applied with a spray gun, but the result is a smooth, bright and reflective finish.
If the surface of the shower tray has paint on it, you will need to remove the paint before applying Gelcoat to the acrylic shower tray. With surfaces that are gelcoat, you should sand the surface with 150 grit sandpaper. Then you clean the surface thoroughly, at this point you can apply the new gelcoat.
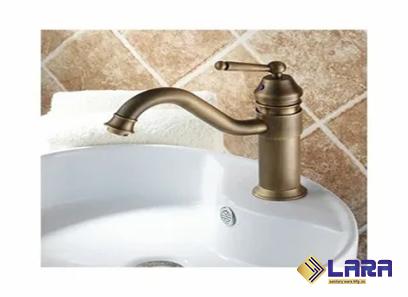
Before choosing a shower tray color, keep in mind that some colors stain, so choose a color that is easy to clean. White color is often used for shower trays. Choose the color of the shower tray that matches the bathroom ceramic and tile.
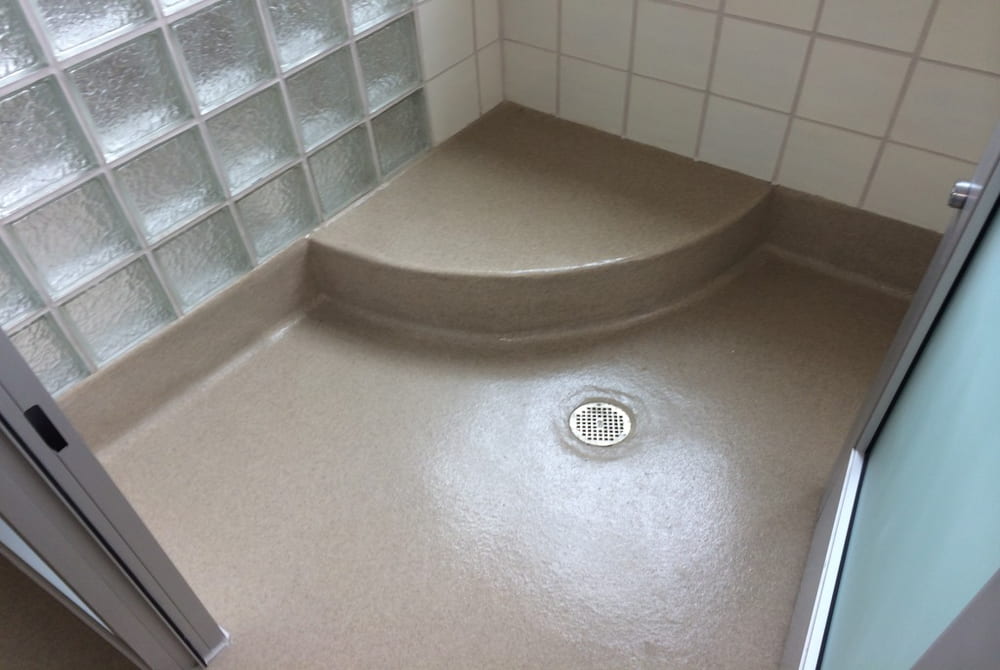
epoxy paint for shower tray
Using epoxy on a shower tray is not that difficult. However, to achieve uniformity that is consistent in quality and flawless in execution, a professional should be consulted.
Applying epoxy on large shower trays is not easy for a novice as it requires a lot of talent to level the surface. This is done with the help of specialized tools and add-ons and is not something that can be done by hand.
Before applying epoxy to a surface, it is very important to smooth and level the surface first, as this will ensure the best possible result.
As you continue reading, you will have a better understanding of the steps involved in applying epoxy.
Primer function: Before covering the epoxy floor with the second layer, the primer is applied as the first layer.
Its purpose is to ensure a firm connection of the second layer to the shower tray.
Due to its thinness, it can penetrate concrete shower trays more effectively. After that, you can use subsequent layers of epoxy to give the shower tray a nice shine and finish.
How many layers are needed to properly apply epoxy?
It is recommended to obtain at least two layers of epoxy
The best coverage and result is because the epoxy can perform at its best. In addition, it is necessary to use a suitable primer on the substrate.
Wait 24 to 36 hours before applying the next coat of epoxy. After that, apply more epoxy to make the system thick and durable. The durability of the shower tray depends on how many layers there are at this stage.
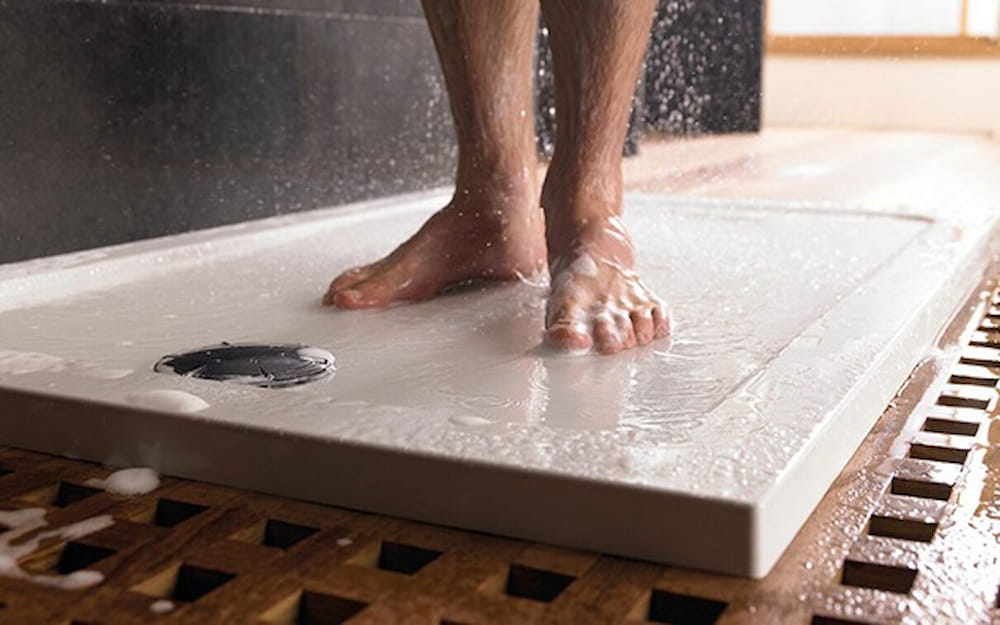
shower tray repair paint
Abrasion and paint scratches are two of the most common types of damage that can be caused to shower trays. The attractiveness of the shower tray is reduced in addition to the damages that these devices eventually cause.
In situations like this, it is usually difficult and expensive to repair or replace the shower tray. For this reason, it is recommended to follow a series of principles that do not have any particular problem, and by using epoxy paint, the costs can be reduced to an acceptable level or even completely eliminated.
Don’t worry too much if you notice a crack in your shower tray. Before you call in a repairman or consider replacing the shower tray, inspect the damage to determine if it can be repaired.