When it comes to maintaining the appearance and functionality of your bathtub, caulking plays a vital role. Properly applied bathtub caulking not only ensures a leak-free environment but also enhances the aesthetic appeal of your bathroom. In this comprehensive guide, we will take you through the step-by-step process of caulking your bathtub like a professional, giving you the confidence to undertake this task yourself. So, roll up your sleeves and let’s get started!
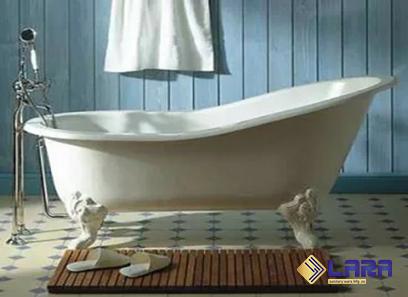
.
 1. Gather the Tools and Materials: Before you begin caulking your bathtub, it’s essential to have the right tools and materials at hand. Be sure to gather the following: – A high-quality silicone or latex-based caulk – A caulking gun – A putty knife or scraper – Rubbing alcohol or a mild detergent for cleaning – Painter’s tape – Disposable gloves 2. Prepare the Surface: To achieve a long-lasting caulking job, it is crucial to prepare the surface properly. Start by thoroughly cleaning the area around the bathtub with rubbing alcohol or a mild detergent. Remove any existing caulk using a putty knife or scraper, ensuring that the surface is clean and dry before proceeding.
..
 3. Apply Painter’s Tape: To achieve neat and straight caulk lines, apply painter’s tape along the edges of the bathtub, precisely where you want the caulk line to end. This will also protect the surrounding areas from accidental smears. 4. Load the Caulking Gun: Insert the tube of caulk into the caulking gun and cut the nozzle at a 45-degree angle. Load the caulk gun by pushing the plunger firmly until the caulk is visible at the tip. Be sure not to overfill, as it may result in messy application. 5. Apply the Caulk: Starting from one end, hold the caulk gun at a 45-degree angle and gently squeeze the trigger to release a continuous bead of caulk along the joint between the bathtub and the adjacent surface. Keep a steady hand and maintain consistent pressure to ensure an even application.
…
 6. Smooth Out the Caulk: Immediately after applying the caulk, use a gloved finger or a caulk smoothing tool to smooth out the bead. This will create a clean and finished appearance while ensuring proper adhesion. Wipe off any excess caulk with a damp cloth or paper towel. 7. Remove the Tape: Once you have finished smoothing out the caulk, carefully remove the painter’s tape while the caulk is still wet. This will prevent the caulk from sticking to the tape and disrupting the smooth finish. 8. Allow the Caulk to Cure: Give the caulk ample time to cure and dry before using the bathtub or exposing it to water. Follow the manufacturer’s instructions for the recommended drying period, typically 24-48 hours, to ensure a durable and long-lasting finish. Conclusion: By following these step-by-step guidelines, you can achieve a professional, long-lasting caulk finish on your bathtub. Properly caulked bathtubs not only prevent leaks and potential water damage but also add elegance and beauty to your bathroom. So, don’t delay any further! Use this guide as a reference, gather your tools, and give your bathtub the care and attention it deserves. Happy caulking!

